Introducing Playwright Support in the cypress-on-rails Ruby Gem
Web developers understand the importance of reliable end-to-end testing frameworks to ensure the quality of our applications. That's why we're thrilled to announce Playwright support in the cypress-on-rails Ruby gem!
You can now use Playwright as an alternative to Cypress for your end-to-end tests. Compared with Cypress, Playwright handles workflows that span multiple tabs, browsers, domains, or users in the same test while still providing cross-browser support and native event handling.
To get started with Playwright in cypress-on-rails, add the following line to your Gemfile:
group :test, :development do
  gem 'cypress-on-rails', '~> 1.15'
end
Then, run bundle install to install the gem. Once installed, you can use the included install generator to set up Playwright in your project:
bin/rails g cypress_on_rails:install --install_folder=e2e --cypress_folder=cypress --playwright_folder=playwright --install_cypress --install_playwright --install_with=npmOptions used in this command:
--install_folder=e2e- This option specifies the folder where your RoR code will be stored. It's set toe2eby default, but you can change it if you prefer a different folder name. You'll find app commands and scenarios there.--cypress_folder=cypress- This option specifies the folder where your Cypress tests will be stored. It's set tocypressby default, but you can change it if you prefer a different folder name.--playwright_folder=playwright- This option specifies the folder where your Playwright tests will be stored. It's set toplaywrightby default, but you can change it if you prefer a different folder name.--install_cypress- This option tells the generator to install Cypress in your project. You can omit this option if you don't want to use Cypress (or it is installed already).--install_playwright- This option tells the generator to install Playwright in your project. You can omit this option if you don't want to use Playwright (or it is installed already).--install_with=npm- This option tells the generator to install the dependencies using npm. If you prefer yarn, you can change this option to--install_with=yarn.
Once the generator has finished running, you'll have a fully functional Playwright setup in your project! You can now write your first test by creating a new file in the playwright folder:
touch playwright/e2e/first_test.spec.jsThen, add the following code to the file:
import { test } from "@playwright/test";
import { app, appScenario } from "../support/on-rails";

test.describe("Rails using scenarios examples", () => {
  test.beforeEach(async ({ page }) => {
    await app('clean');
  });

  test("setup basic scenario", async ({ page }) => {
    await appScenario('basic');
    await page.goto("/");
  });
});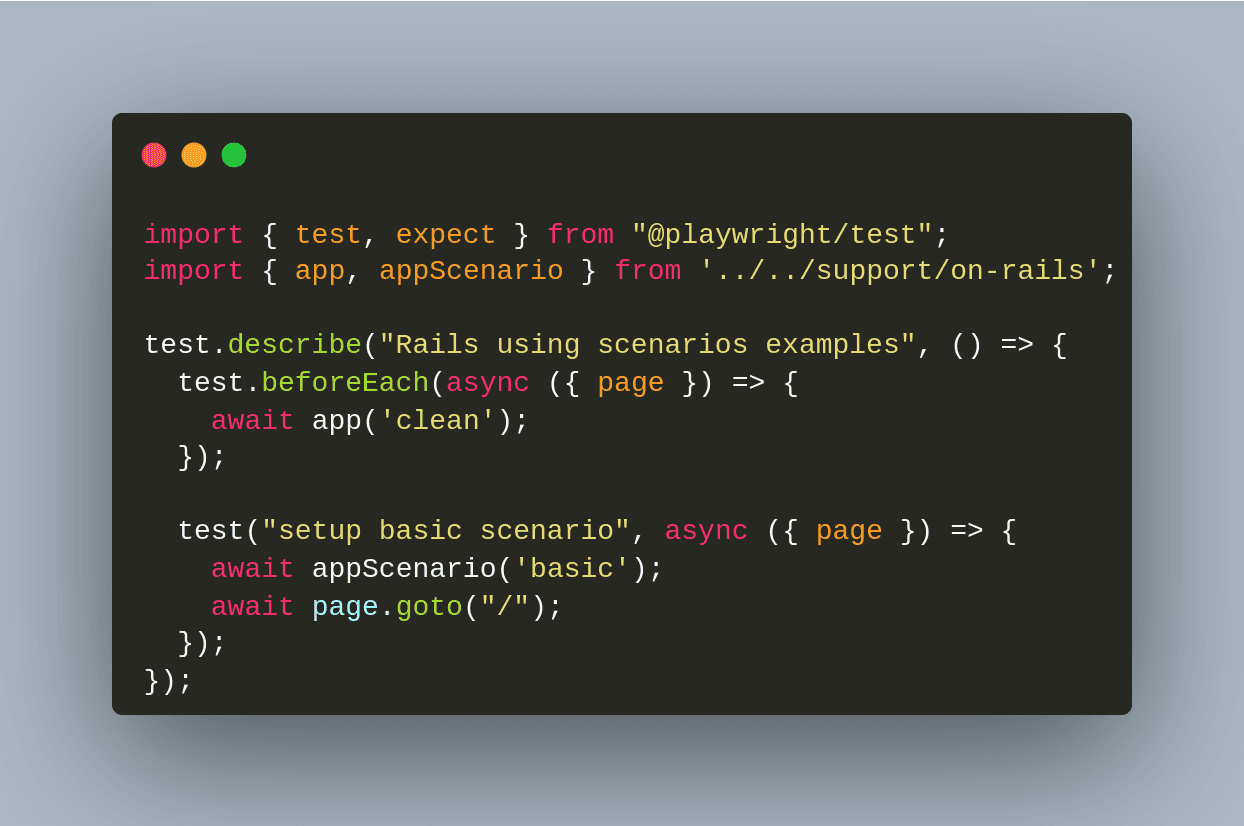
In this test, we use the app and appScenario helpers to set up our Rails application. The app helper is used to run commands in the Rails application, while the appScenario helper is used to set up scenarios.
Let's have a look at the appScenario helper. It takes a scenario name as its first argument. The scenario name is used to find the scenario file in the e2e/app_commands/scenarios folder.
By default, the generator will install the following basic scenario:
# e2e/app_commands/scenarios/basic.rb
# You can setup your Rails state here
# MyModel.create name: 'something'
Article.new(title: 'Hello World', body: 'Lorem ipsum dolor sit amet, consectetur adipiscing elit.').save!
You can add or edit scenarios by creating new files in the e2e/app_commands/scenarios folder.
Now that we have our test set up, we can run it using the following command:
# First let's start the Rails server
bin/rails s -p 5017
# Now Let's open Playwright
npx playwright test --ui
You can now run your test in the Playwright UI!
One final file to note is playwright.config.js. This file contains Playwright configuration. You can use it to configure the browsers you want to test against, the test timeout, and more.
By default, the generator will install the following configuration:
const { defineConfig } = require("@playwright/test");

module.exports = defineConfig({
  testDir: './playwright/e2e',
  use: {
    /* Base URL to use in actions like `await page.goto('/')`. */
    baseURL: 'http://127.0.0.1:5017',
  },
});
You can edit this file to suit your needs.
That's it! We hope you enjoy using Playwright with cypress-on-rails. Please let us know in the comments below if you have any questions or feedback.
Closing Remark


